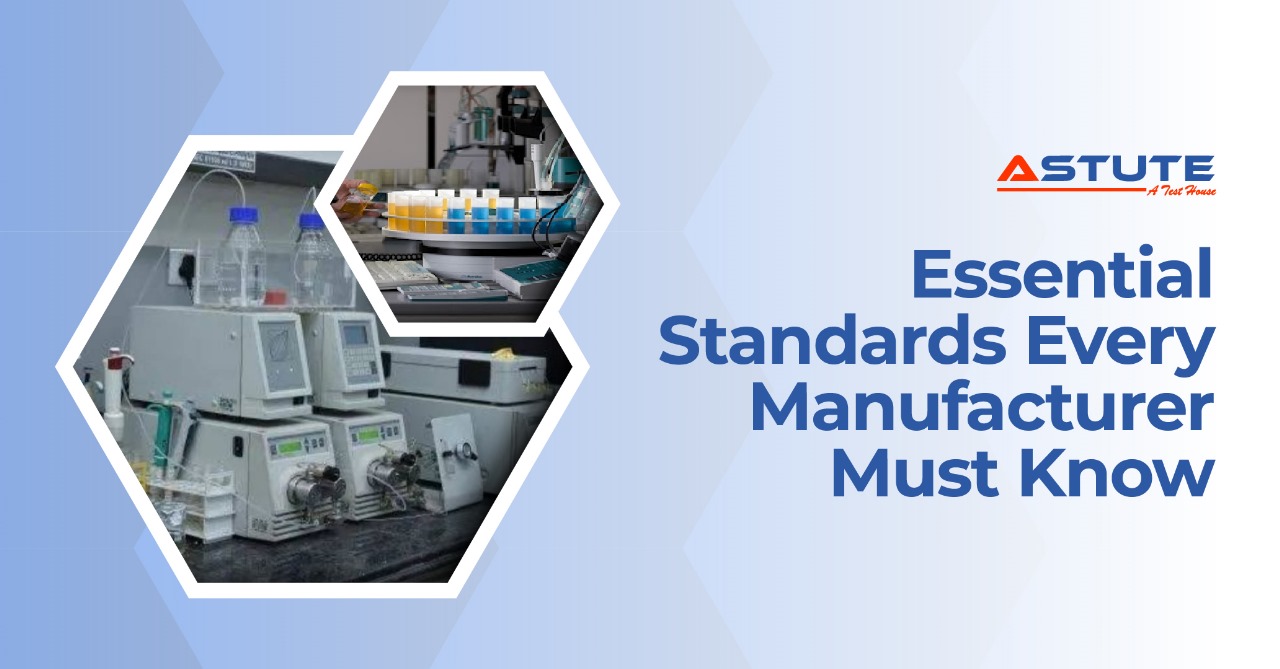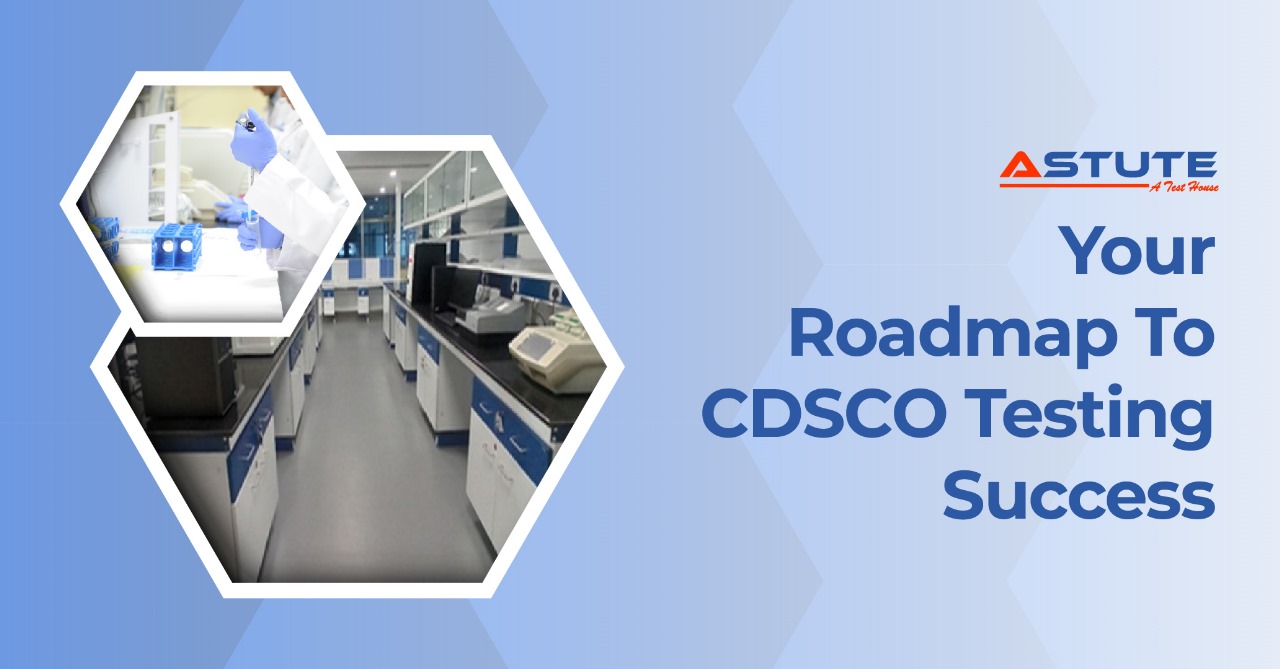
Testing is a mandatory requirement for medical devices manufactured or imported into India under the Medical Device Rules 2017. A structured testing approach helps avoid delays and ensures that the technical dossier submitted to CDSCO is complete and consistent. This guide explains the medical device testing process CDSCO expects, from planning and risk assessment to submission and approval.
For accreditation-related support, you can explore the testing capabilities of Astute Labs, an NABL-accredited and CDSCO-recognised medical device testing laboratory.
Start with correct CDSCO device classification
CDSCO classifies devices into four categories based on risk: Class A, B, C, and D. The category affects testing requirements, documentation depth, inspection expectations, and licensing timelines.
- Class A includes low-risk devices such as manual instruments
- Class B includes low to moderate-risk products like monitoring equipment
- Class C covers moderate to high-risk equipment, such as infusion pumps
- Class D contains life-supporting or critical care devices like ventilators and defibrillators
Getting classification wrong can lead to incorrect testing, increased costs, and resubmission. To understand classification-related testing differences, review the blog on medical device testing requirements by class.
Build documentation before initiating testing
Testing should begin only after core regulatory documentation is ready. A complete technical file normally includes:
- ISO 13485 quality management system
- ISO 14971 risk management file
- Detailed technical dossier and design specifications
- Material and biocompatibility data
- Labeling and instructions for use
- Predicate comparison or clinical evaluation if required
Strong documentation ensures that the laboratory understands the intended purpose and operating environment of the device. It also helps align testing with regulatory expectations.
Map risk management directly to test planning
Your risk assessment should define the testing scope rather than exist as a separate document. Begin by identifying hazards, evaluating severity and probability, and then linking each risk to a corresponding test and acceptance criteria.
For example, electrical shock risk aligns with IEC 60601 1 safety testing. Electromagnetic disturbances connect to IEC 60601-1-2 EMI and EMC evaluations. Biocompatibility concerns require ISO 10993 endpoints, while long-term reliability connects to environmental and ageing studies.
This traceability strengthens your CDSCO submission and improves the clarity of testing reports. For more context, see the article on why EMI EMC testing matters for medical devices.
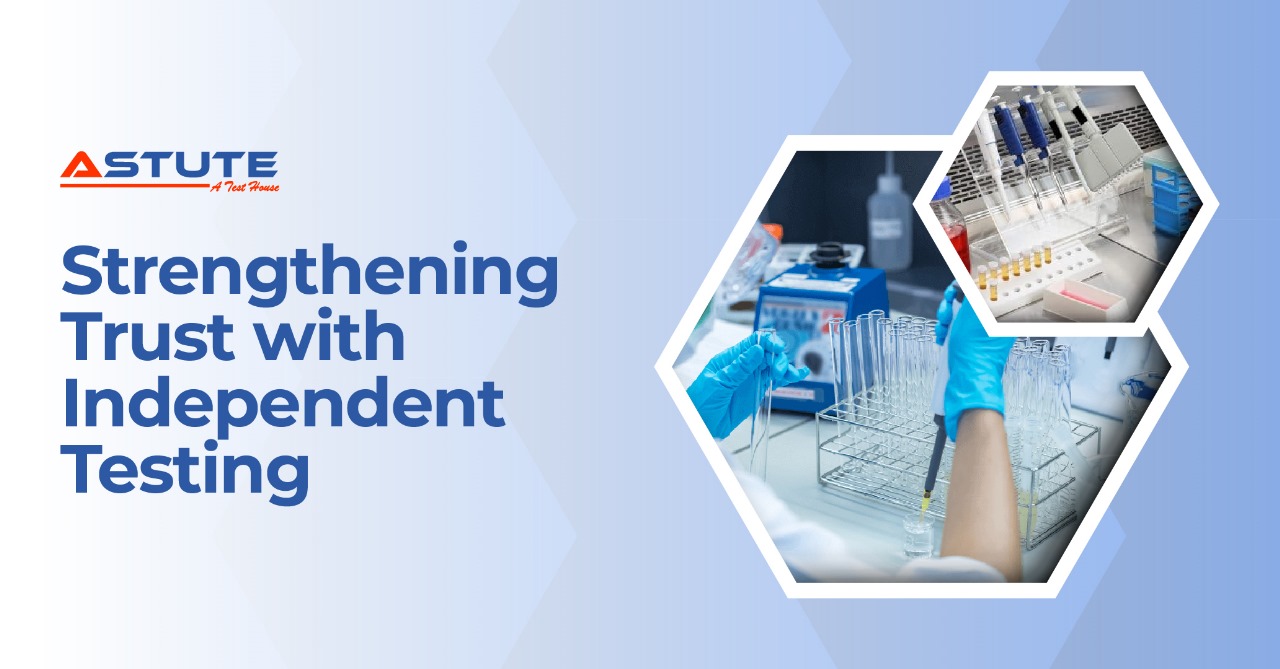
Select the right CDSCO-recognised laboratory
Choosing an appropriate testing partner is a critical decision. A recognised CDSCO testing laboratory typically should have:
- NABL accreditation under ISO IEC 17025
- Capability for IEC 60601, EMC, and performance testing
- CDSCO recognition under MD 40
- Ability to test worst-case configurations
- Reporting aligned with CDSCO expectations
Understanding regulatory scope helps avoid retesting and approval delays. Relevant reading includes BIS recognition for medical device testing labs and MD 40 vs MD 49 CDSCO NABL lab approval.
Astute Labs tests medical electrical equipment, ventilators, electrosurgical analyzers, incubators, and infusion pumps, supported by advanced EMI and EMC infrastructure.
Create a structured sample testing plan
A well designed testing plan prevents disjointed testing and unexpected retest cycles. Typical sequencing for medical electrical devices includes:
- Safety testing to IEC 60601 1
- EMC testing to IEC 60601 1 2
- Performance and accuracy evaluation
- Biocompatibility under ISO 10993
- Sterilization validation and ageing if supplied sterile
- Packaging and transport studies
Within this framework, define sample quantities, worst case test configurations, acceptance criteria, and retest protocols.
Conducting early pre compliance EMC evaluations can significantly reduce redesign time. The article on pre compliance EMC testing explains how this can prevent major failures late in the process.
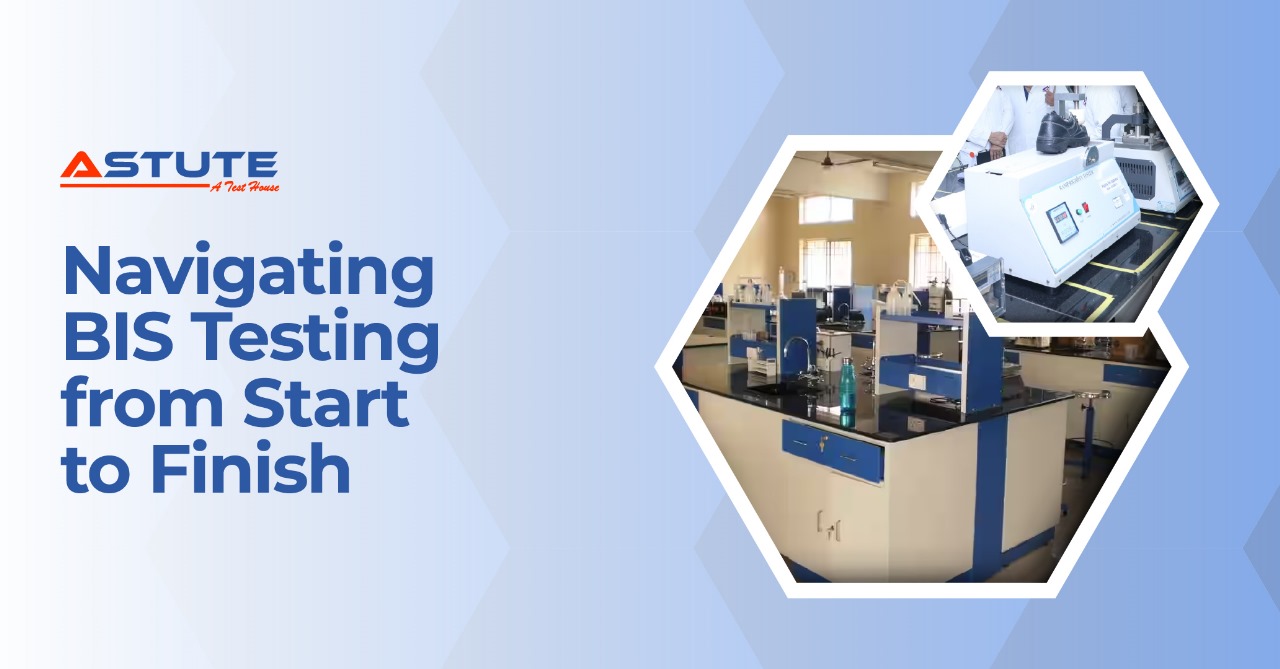
Understand the CDSCO testing portal process
The CDSCO testing portal process is completed through the SUGAM platform. After testing is complete and reports are compiled, the steps generally include:
- Creating a SUGAM account and completing the organisational profile
- Selecting the appropriate form such as MD 5 or MD 9 for manufacturing and MD 14 or MD 17 for imports
- Uploading the technical dossier, test reports, and fee proof
- Monitoring application status and responding to queries on time
- Preparing for inspections where requested, especially for Class C and D devices
A detailed explanation of how these stages connect is available in the CDSCO approval process for medical devices in India, which breaks down timelines, forms, and review checkpoints. Manufacturers who want to identify potential bottlenecks can also read the article on strategies to reduce medical device certification delays by preparing for common CDSCO query areas.
Analyse reports, corrective actions, and retesting
If results are not within acceptable limits, common actions include redesigning affected components and repeating relevant tests, justifying minor deviations using documented risk evidence, or requesting special review for novel devices.
Since retest cycles can add additional weeks, always reserve time for potential iteration within your planning.
How Astute Labs supports the CDSCO testing process
Astute Labs provides NABL-accredited testing across IEC 60601 electrical safety and full EMI and EMC requirements, supported by advanced infrastructure for complex medical devices. The lab also offers ageing, packaging validation, calibration, and BIS and CDSCO-aligned reporting to support smooth regulatory submissions.
Explore capabilities on the Astute Labs or connect through the contact page.